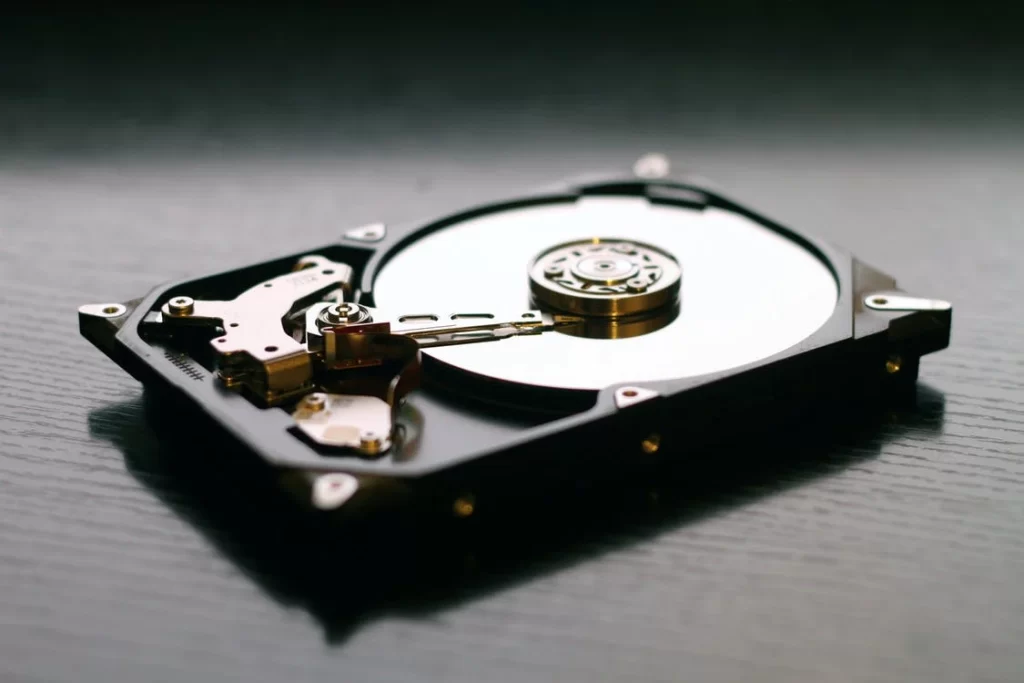
Have you ever been interested in dividing your hard drive into distinct components? Do you want to encrypt sensitive files, but aren’t interested in encrypting everything? Creating a partition on your hard drive could be the solution!
What Does it Mean to Partition a Hard Drive?
A partition is simply a logically distinct segment of an electronic storage device. On a Windows machine, your file system primarily exists on the C partition of your hard drive, however many distributions of Windows have a built-in “recovery partition” that can be used to easily repair the system in *some* instances of data loss, like minor corruption or accidentally deleted files.
If you are not utilizing all of the storage space offered by the C partition of your hard drive, you have the option to use a portion of the remainder as your first foray into partitioning. It’s never advisable to partition too much of your remaining free space. Your original filesystem will continue to utilize additional storage capacity as you continue using the computer for various activities. You could encounter a serious problem if you run out of space on your original partition. So, before you move any further, consider the following question:

Why Do You Want to Partition Your Hard Drive?
Instead of Partitioning, Consider Encrypting a VMDK

If you simply want to encrypt your files, you can use a number of operating-system-agnostic programs to create a VMDK. On the surface, virtualization may seem like a simple concept. However, thoroughly understanding the intricacies of implementing virtual machines and VMDKs can be wildly complex. Virtualization is the process where a host computer uses special software (and occasionally specialized hardware) to emulate an operating system / general computer system. Virtual machines rely on storage known as virtual machine disks or VMDKs.
If your interest in partitioning stems from a desire to encrypt specific files in a distinct logical segment of storage, virtualization could be the solution. Without too much difficulty, you could spin up a virtual machine locally, transfer the files you want to protect to the virtual machine, encrypt the files, and save the encrypted files to your VMDK.
Encrypting a Partition with BitLocker
On the other-hand if you do move forward with partitioning your hard drive, you can avoid involving third party programs and utilize windows built-in BitLocker to encrypt an entire volume. Windows BitLocker is a full volume encryption utility Microsoft has provided with each Windows operating system since the release of Windows Vista in 2006.
BitLocker relies on the Advanced Encryption Standard (AES), algorithm to securely store data. AES is a variant of symmetric key cryptography that is the United States Federal Government’s standard for securing information classified as “Top Secret”. BitLocker presents a user-friendly, powerful, and built-in solution for encrypting storage volumes running Windows.

Steps to Partition a Hard Drive
Consider the following steps with an eye for precision. A single mistake could potentially destroy every file on the entire drive.
1. Back Up Before Moving Forward With this Process
The first step in this process is backing up the contents of your hard drive. If you encounter any unforeseen hick-ups along the way you definitely still want to have a copy of your original data. After backing up your system, check Windows file explorer to verify that you have sufficient free space on the drive you wish to partition. As previously mentioned, if your drive is almost full, you should not create a partition. In this scenario you will need to either delete unnecessary files to free up space or purchase a new hard drive. If you see that there is sufficient space on your hard drive, you are ready to move on to the next step in the process.
2. Shrink The Existing Volume
The first step is using the Windows search feature to open disk management. Identify the volume that you are interested in partitioning. In most cases this would be the OS (C:) volume. Open the Action Menu, select “More Actions” and then “All Tasks” down menu and select “Shrink Volume”. Alternatively, you can select the target volume, left click on the same item, and choose “Shrink Volume” from a pop up menu. Shrinking the volume reduces that volumes capacity and transforms that storage capacity into unallocated space. Select this unallocated space and click “New Simplified Volume”. A setup wizard will walk you through this simple process.
3. Format the New Partition
Voila, you have now successfully created a new partition. However, if you want this new partition to serve a useful purpose you will also need to format it. The last step is to format your new partition. In Windows you should choose NTFS, or the New Technology File System. On a Mac, you would want to choose APFS, or the Apple File System. It is essential that you are very careful when you format a partition. This process overwrites unallocated storage space, and in the event that you had deleted important files, your capacity for data recovery depends on this unallocated space remaining undisturbed.
Having Issues with a Partition?
Maybe you neglected to follow particular details from this guide, damaged storage for the entire system, and caused a data loss scenario. Maybe you read this article after attempting to “wing-it” with your first attempt to partition a hard drive. If you aren’t protected from data loss by a thorough backup system, you are in a difficult predicament right now. Fortunately for you, the data recovery professionals at Data Savers LLC have nearly two decades of experience restoring data from failed partitions.
Request an Estimate from Data Savers LLC Today!

